How to Fix Chips and Cracks in Your Epoxy Flooring
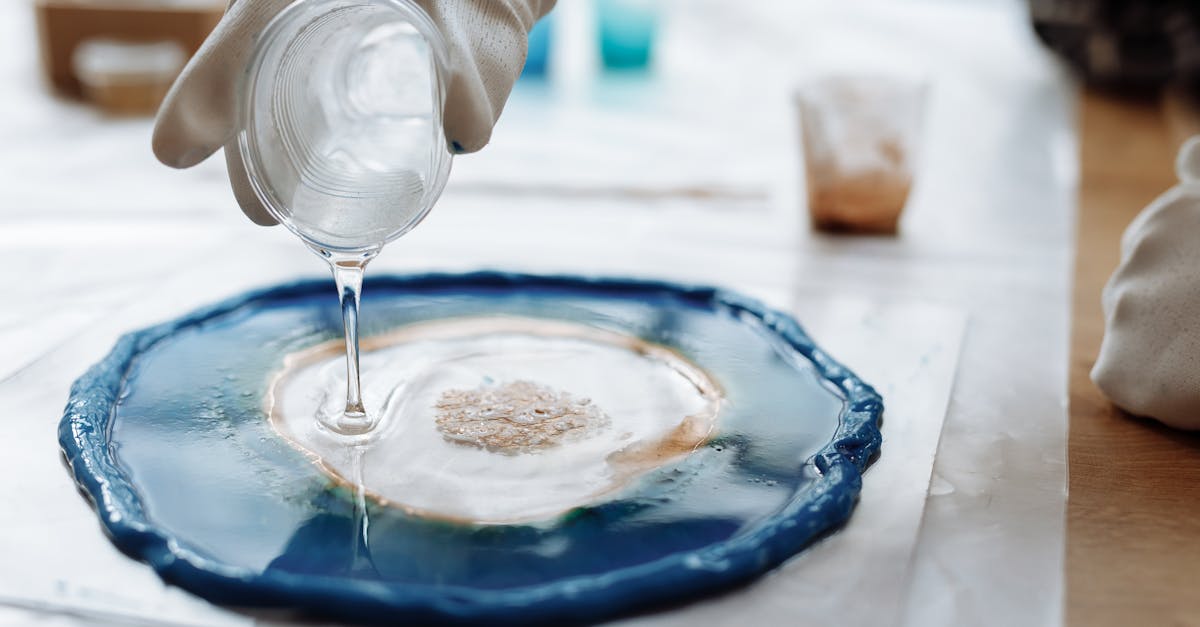
Table Of Contents
Restoring Surface Texture
Chips and cracks in epoxy flooring can disrupt the surface texture, making restoration essential for a cohesive look. To begin, clean the damaged area thoroughly to remove dirt and debris. This ensures that any materials used for repair will adhere properly. After cleaning, consider using a compatible epoxy patching compound to fill in any imperfections. Apply the compound with a putty knife, smoothing it out to match the surrounding texture.
Once the patching compound has cured, it’s important to sand the repaired area lightly. This will help blend the patch with the rest of the flooring and restore a consistent texture. Use fine-grit sandpaper for a smooth finish, taking care not to disturb the surrounding epoxy. Depending on the extent of the repair, you may also need to apply a clear coat over the sanded area to enhance the texture and ensure a uniform appearance.
Techniques for a Smooth Finish
Achieving a smooth finish when repairing chips and cracks in epoxy flooring involves several key techniques. Start by ensuring the surface is clean and dry before applying any materials. Use a putty knife to fill in the damaged areas with a compatible epoxy filler, pressing firmly to eliminate any air pockets. Once filled, carefully level the surface with a straight edge, ensuring the filler is flush with the surrounding floor.
After the filler has cured according to the manufacturer's guidelines, the next step is sanding. Begin with coarse sandpaper to remove any excess material, then gradually move to finer grades for a smoother surface. It is important to sand evenly to avoid creating low spots. After sanding, clean the area of dust and debris before proceeding with the application of any topcoat, as this prepares the surface for an even finish and enhances the overall appearance.
Applying Topcoat for Protection
A topcoat serves as the final line of defence for your epoxy flooring. It enhances the overall appearance while providing added durability against wear and tear. When selecting a topcoat, consider factors such as the environment and expected foot traffic. Options range from glossy finishes to matte textures, each offering unique benefits catering to different aesthetic preferences and functional needs.
Proper application of the topcoat is essential for achieving long-lasting results. Ensure the surface is clean and free from dust or debris before commencing. Use a roller or sprayer for even application, aiming for consistency across the entire area. Pay attention to curing times recommended by the manufacturer, as this will influence the effectiveness of the protection offered by the topcoat.
Choosing the Right Topcoat
Selecting the proper topcoat can significantly influence the durability and appearance of your epoxy flooring. Consider the environment in which the flooring will be used. For high-traffic areas or spaces exposed to chemicals, a more robust, chemical-resistant topcoat may be necessary. Look for formulations specifically designed for epoxy systems. These products often come in a range of finishes, from high gloss to matte, allowing for a personalised look that complements your space.
Another crucial factor is the curing time of the topcoat. Some formulations cure quickly, enabling rapid return to service, while others may require longer periods before the floor is ready for use. Additionally, evaluating the UV stability of the topcoat is essential, especially for areas that receive significant sunlight. A UV-stable product will help prevent yellowing and maintain the visual integrity of your floor over time. Always review manufacturer guidelines to ensure compatibility and achieve the best results.
Curing Process
The curing process is crucial to ensure the longevity and durability of epoxy flooring repairs. During this stage, the applied resin undergoes a chemical reaction that solidifies it and bonds it with the existing surface. Proper conditions such as temperature and humidity play a significant role in achieving optimal results. It is essential to maintain a steady environment, typically between 15-25°C, as extreme temperatures can compromise the integrity of the fix.
Patience is required during curing, as rushing this process may lead to imperfections, including discolouration or weakness in the repaired area. Generally, a full cure can take anywhere from a few hours to several days, depending on the specific epoxy product used. Adhering to the manufacturer’s guidelines will ensure that the surface reaches its maximum strength and stability, thereby enhancing the lifespan of the flooring.
Guidelines for Optimal Curing
Ensure proper air circulation in the area where the epoxy flooring has been applied. This helps to eliminate potential moisture that can lead to imperfections in the finish. Keeping the temperature steady is also crucial. An ideal range is between 20°C and 25°C, as lower temperatures can slow down the curing process, while excessive heat can cause bubbling or other damage.
Timing is essential during the curing phase. The first 24 hours are particularly critical, as this is when the epoxy begins to set and harden. It's best to avoid heavy foot traffic or placing any objects on the surface during this initial period. After the first 72 hours have passed, the surface should be sufficiently hardened for light use. However, waiting a full week for complete curing will allow for maximum strength and durability.
FAQS
What materials do I need to fix chips and cracks in my epoxy flooring?
To fix chips and cracks in your epoxy flooring, you'll need an epoxy repair kit, a putty knife, sandpaper, a clean cloth, and a topcoat if you plan to apply one.
How do I restore the surface texture of my epoxy floor?
To restore the surface texture, you can use sandpaper or a grinding tool to even out the area surrounding the chip or crack. This will help the repair material adhere better and match the existing texture.
What techniques can I use to achieve a smooth finish after repairing cracks?
For a smooth finish, apply the epoxy repair compound evenly with a putty knife, then sand the area lightly once it’s cured. You can also use a roller or brush to feather the edges for a seamless appearance.
Why is it important to apply a topcoat after repairs?
A topcoat provides an extra layer of protection against wear and tear, UV rays, and moisture, helping to prolong the lifespan of your epoxy flooring and maintain its appearance.
How do I choose the right topcoat for my epoxy floor?
Select a topcoat that is compatible with your epoxy flooring type. Consider factors like the intended use of the area, slip resistance, and whether you need a matte or glossy finish. Always follow the manufacturer's recommendations for the best results.
What are the guidelines for optimal curing after applying repairs?
Ensure the area is well-ventilated and maintain a consistent temperature as per the product's instructions. Avoid heavy foot traffic and cleaning for at least 24-48 hours to allow the repair to cure properly.
Related Links
Step-by-Step Guide to Patching Damaged Epoxy SurfacesEffective Techniques for Repairing Scratches in Epoxy Floors
Guidelines for Maintaining Floor Integrity Post-Repair
Tips for Matching Epoxy Colour When Making Repairs
When to Seek Professional Help for Epoxy Floor Repairs
DIY Solutions for Minor Repair Needs in Epoxy Floors
Identifying Common Surface Damage Issues in Epoxy Flooring
The Best Tools for Successfully Repairing Epoxy Floors